Welcome to the world where every moment holds a story and every detail matters. At Powers of Observation, we believe that photography is not just about taking pictures; it’s about seeing the world in a way that others might miss. Embrace the art of photography with a sharpened sense of observation and transform ordinary moments into extraordinary memories.
At Powers of Observation Photography, we specialize in capturing the essence of moments with a unique perspective. Our services are designed to bring out the beauty in every frame like Gourmet Basket, highlighting the intricate details that often go unnoticed. Here’s how we can enhance your visual storytelling:
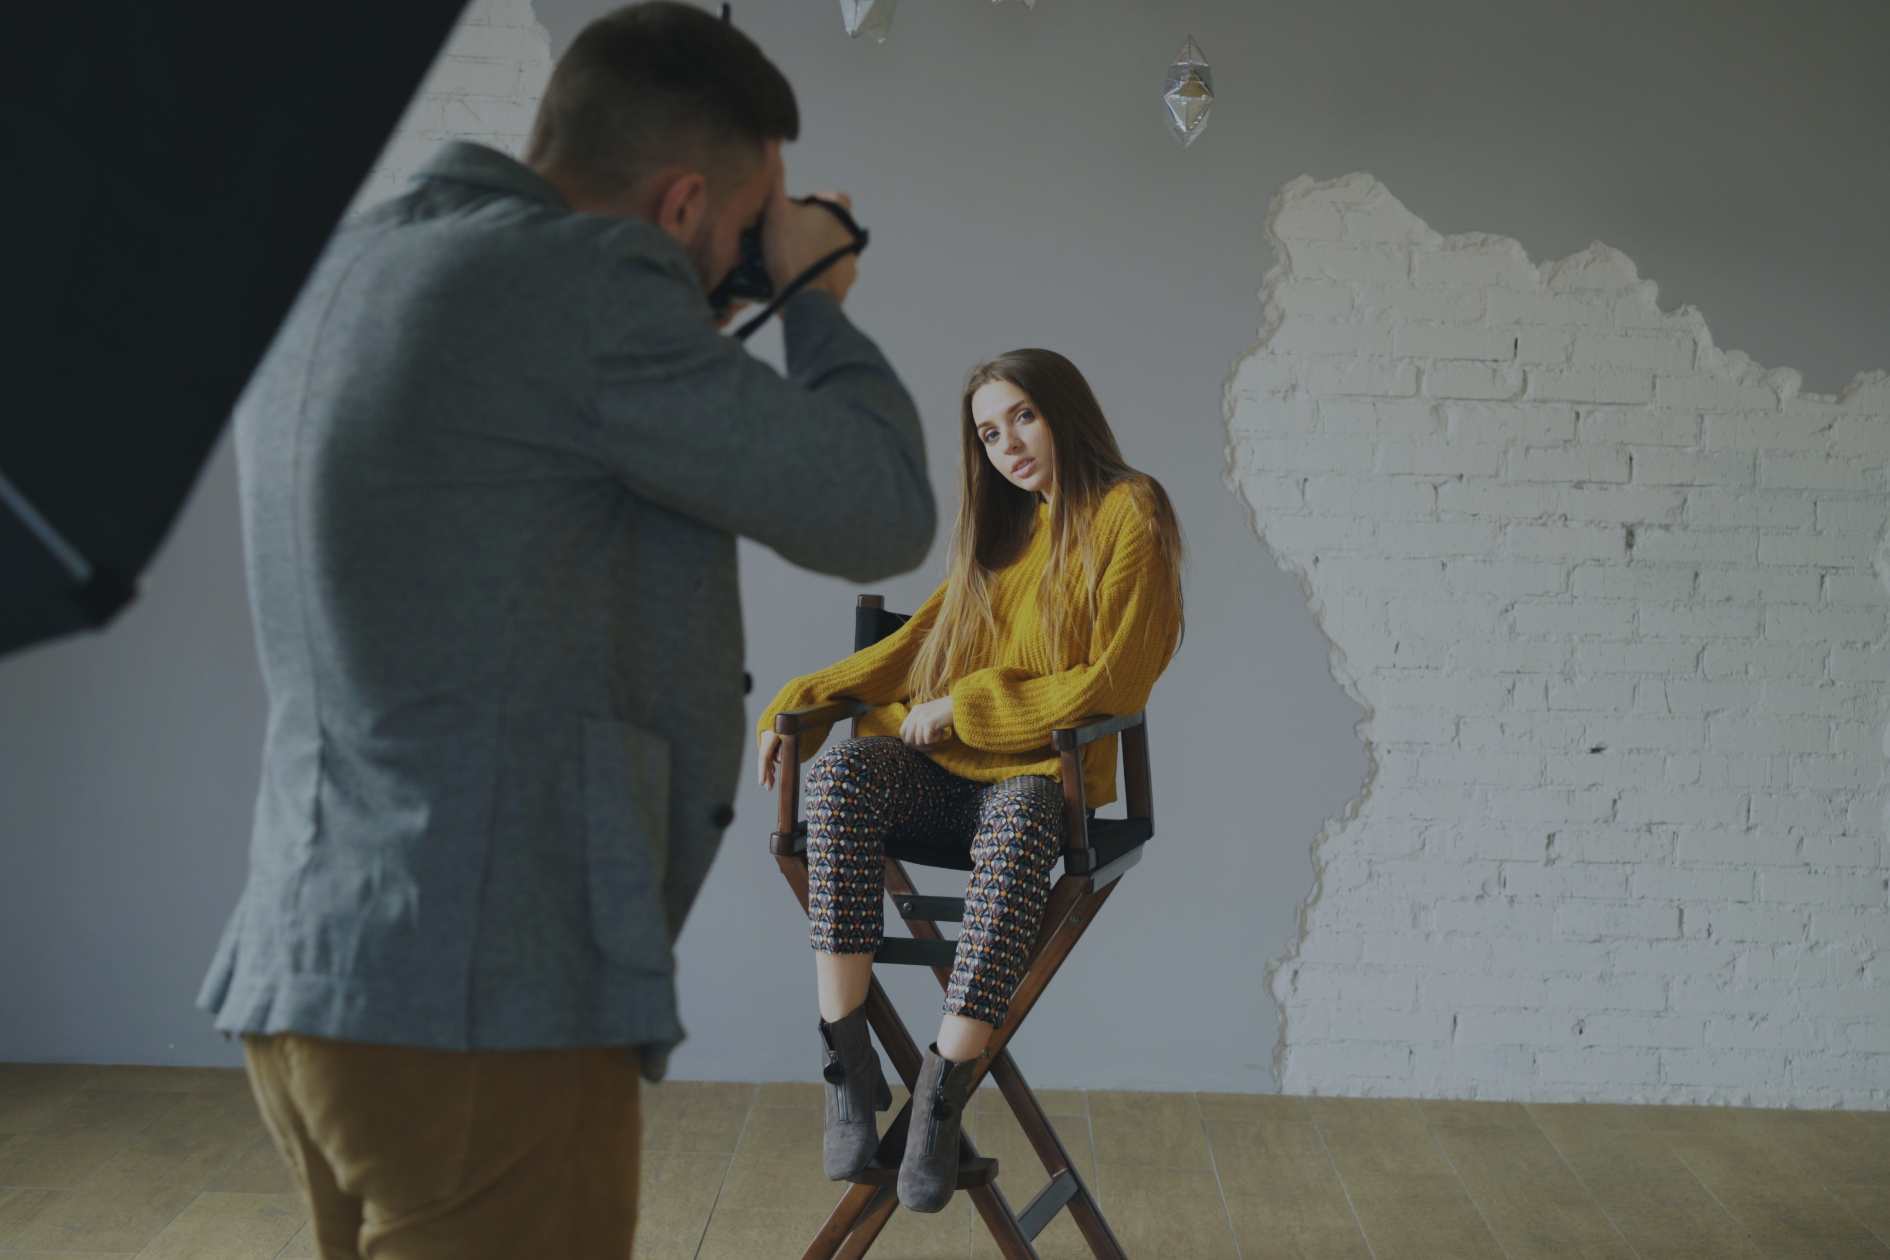
Portrait Photography
Personalized Sessions: Tailored photoshoots that reflect your personality and style. Natural Light & Studio Options: Choose between our natural light settings or a fully-equipped studio for stunning results.
Event Photography
Weddings & Celebrations: Capturing the joy and emotion of your special day with precision and artistry. Corporate Events: Professional coverage that highlights the key moments and atmosphere of your event.
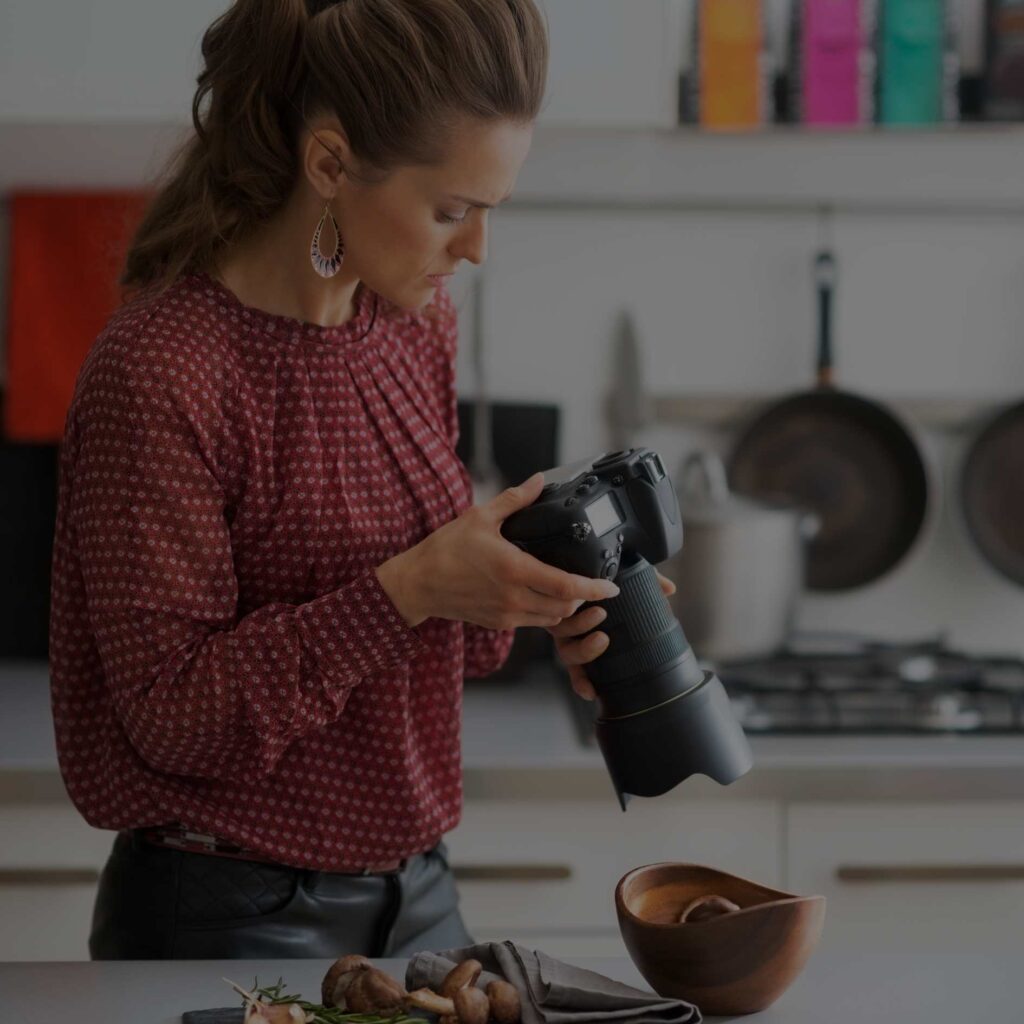
Product Photography
E-commerce Excellence: High-quality images that showcase your products in the best light, enhancing your online presence. Creative Styling: We bring out the unique features of your products through thoughtful composition and lighting.
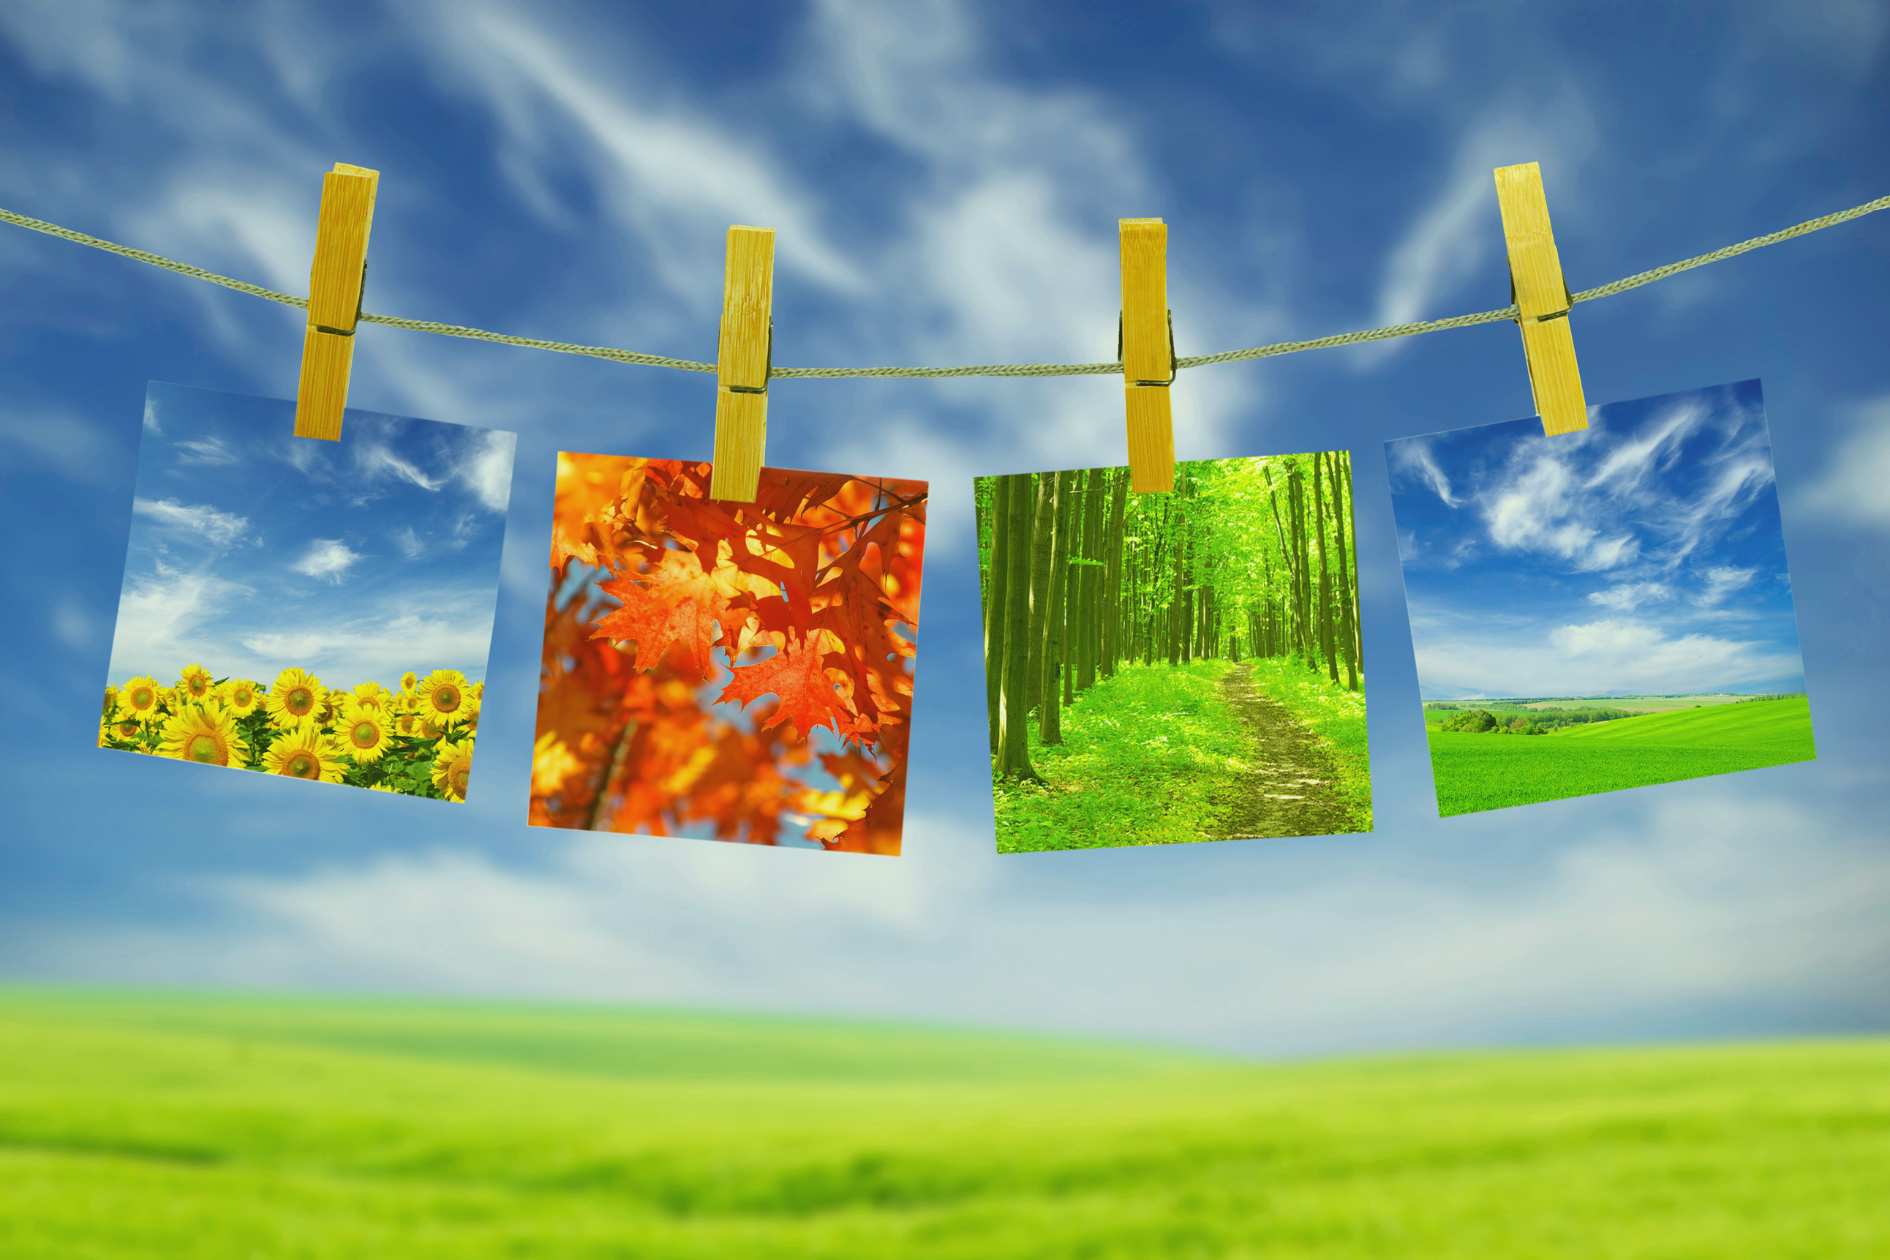
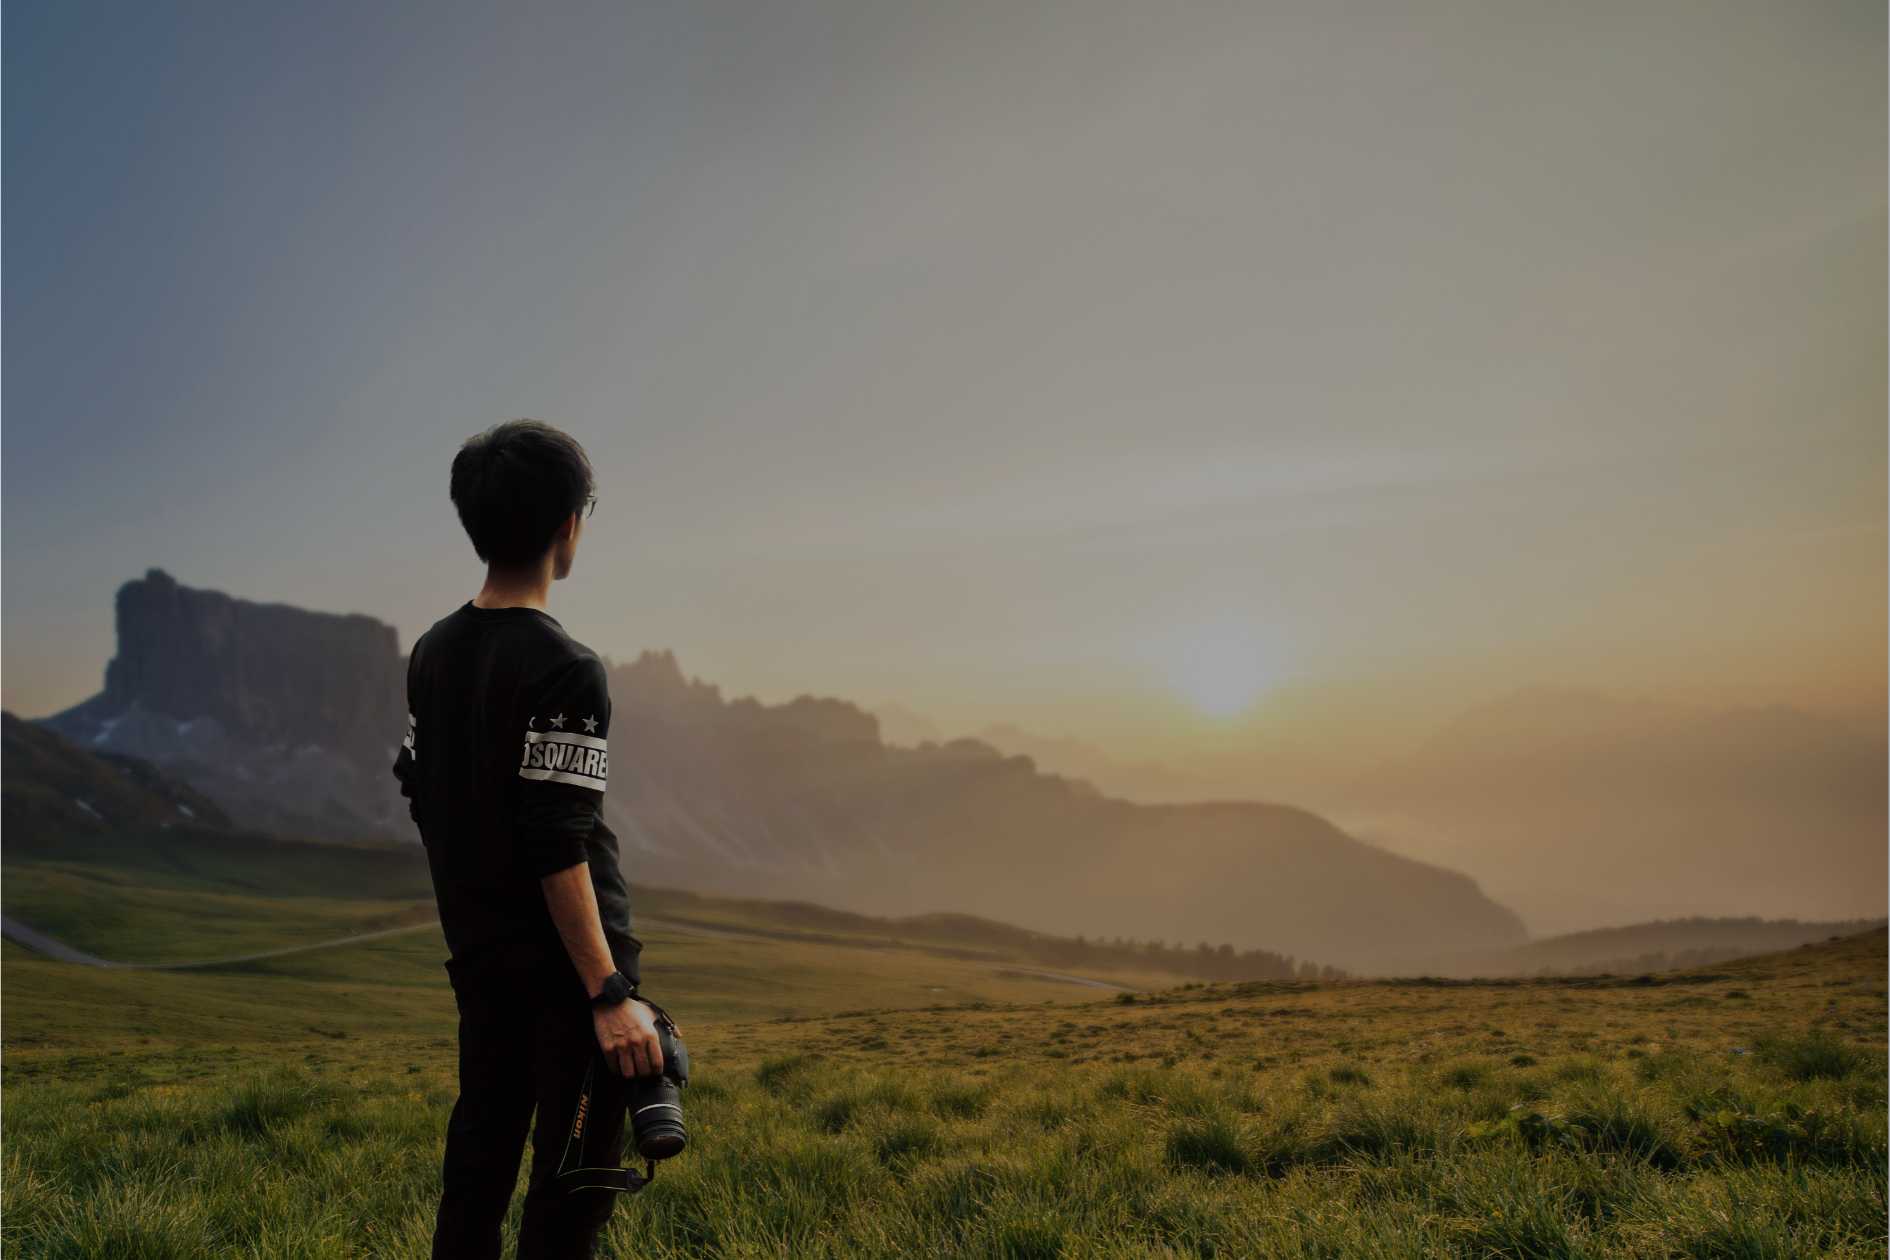
Landscape and Nature Photography
Breathtaking Vistas: Capturing the grandeur of natural landscapes with a keen eye for composition. Seasonal Changes: Documenting the beauty of changing seasons and their impact on the environment.
Architectural Photography
Interior & Exterior: Showcasing the beauty and functionality of architectural designs. Commercial Real Estate: High-quality images that make properties stand out in listings and promotions.
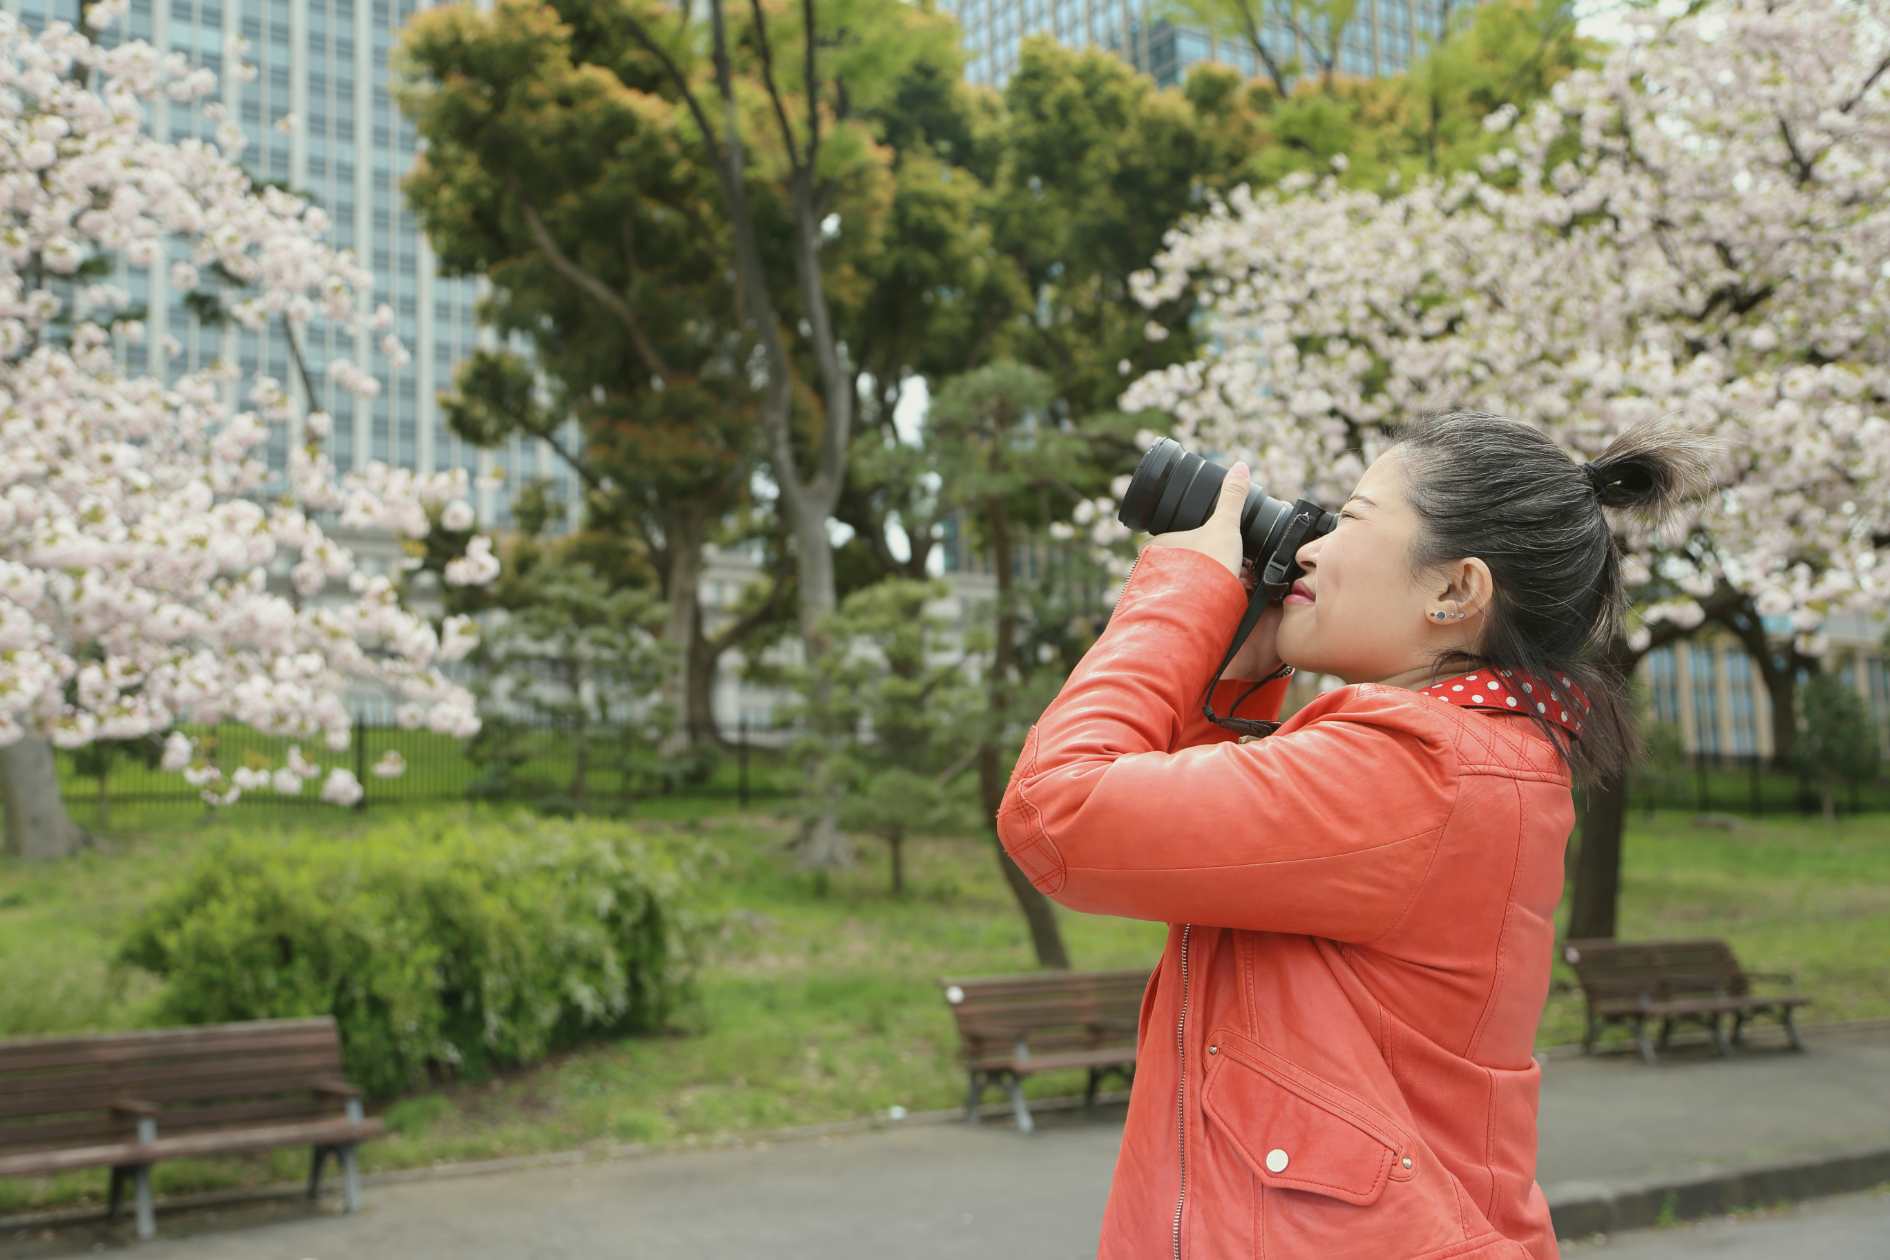
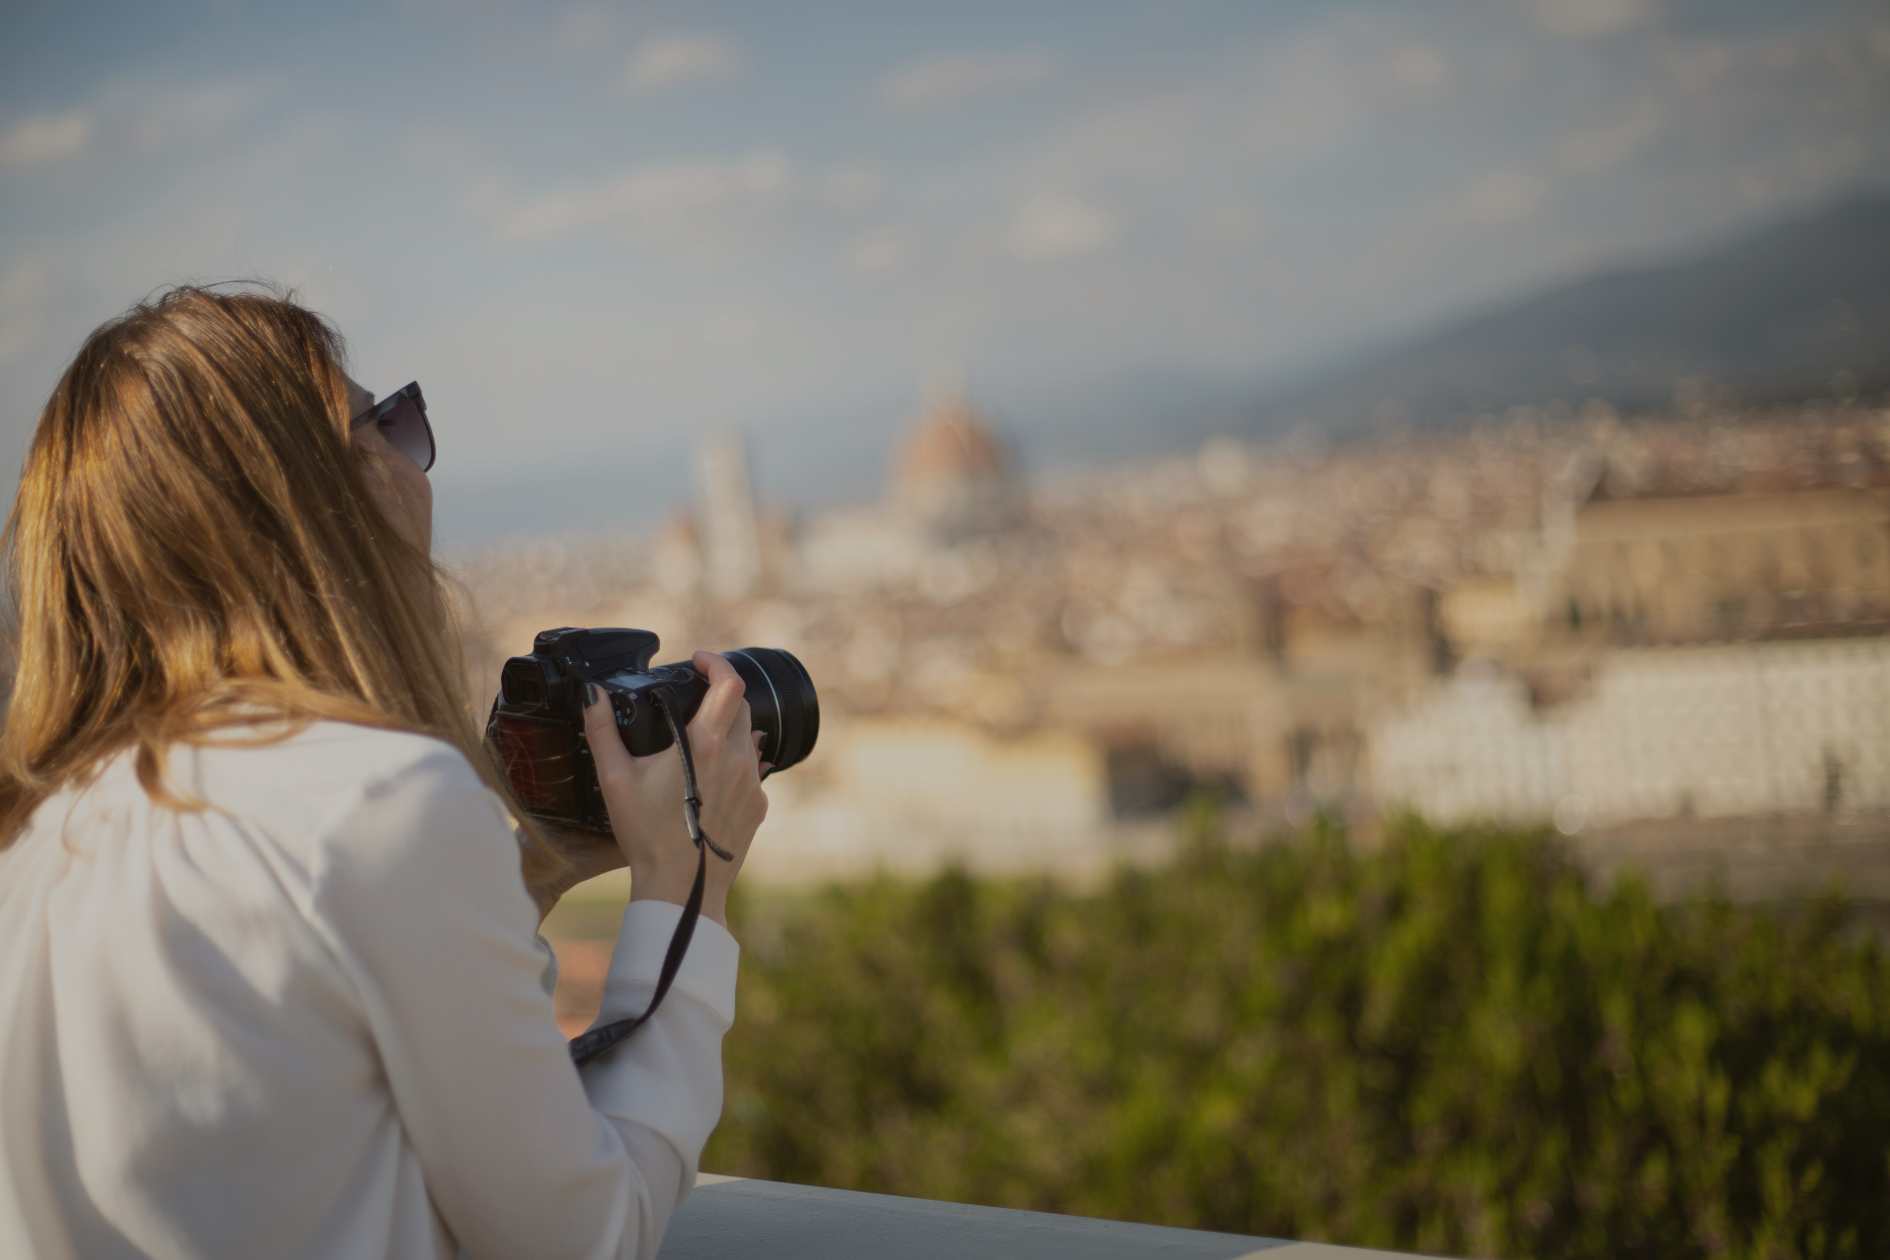
Travel Photography
Destination Highlights: Bringing out the best of travel destinations through dynamic and engaging imagery. Cultural Immersion: Documenting cultural events, local lifestyles, and traditional practices with respect and authenticity.
Blogs
Welcome to the Powers of Observation Photography Blog! Here, we share insights, tips, gift ideas and stories from our journey in capturing the world through our lenses. Dive into our latest posts and discover the art and science behind extraordinary photography.
Welcome to Powers of Observation, where photography is celebrated as an art form that goes beyond mere image capture. Our mission is to empower photographers to see the world with a keen eye, appreciating the beauty and complexity in every detail. Just as green waste rubbish removal clears away what’s unnecessary to make space for fresh growth, refined observation allows photographers to transform ordinary scenes into extraordinary images that tell powerful stories and evoke deep emotions.
"I commissioned Powers of Observation Photography for a series of landscape photos for my new office, and they delivered beyond my expectations. Each photo is a masterpiece that brings a sense of peace and beauty to the space. The way they capture the light and detail is truly breathtaking."
Freya Sanz
"Powers of Observation Photography accompanied us on our adventure trip, and the photos are absolutely amazing. They managed to capture the excitement and beauty of each moment perfectly. These images will always remind us of the wonderful experiences we had."
Mark Ficher
"The black and white photos we received from Powers of Observation Photography are simply stunning. They have an incredible eye for contrast and composition, making each image a timeless piece of art. These photos are a beautiful addition to our home gallery."
Diana Burnwood
Our Gallery
Contact Us
We at Powers Of Observation are here to assist you with all your gifting needs. Whether you have a question about our products, need help with an order, or want to discuss custom corporate gifting solutions, our dedicated team is ready to help.